
Mickey Tie-Dye: A Classic Craft with a Disney Twist
Mickey Tie-Dye is one of the most universal activities at Walt Disney World resorts and is available at nearly every resort. Every single day, Mickey Tie-Dye is happening at multiple resorts on Disney property, and anyone is welcome to participate at any resort! Reservations are not accepted or required - this activity is open to all walk-up guests on a first-come, first-served basis. Note that during certain holidays, some resorts will have Specialty Tie-Dye available (such as shirts with a pumpkin graphic for Halloween). This is most common at Fort Wilderness and Wilderness Lodge, and participation in Specialty Tie-Dye does require advance reservations. During holidays featuring Specialty Tie-Dye, participating resorts will have signage posted with a QR code to link guests to a sign-up sheet. Specialty Tie-Dye has limited availability, sells out quickly, and is not generally available to walk-up guests.
But outside of special holidays, regular Mickey Tie-Dye is readily available and easy to participate in without much of a wait. I’ll be writing about my recent experience doing the Mickey Tie-Dye activity at Disney’s Pop Century Resort, but the tie-dye process, prices, and overall experience are exactly the same at every resort, no matter which resort you happen to be visiting.
At Pop Century, Mickey Tie-Dye happens in the ‘60s section. You’ll find the activity tables set up on the walkway between the Hippy Dippy Pool and the Kiddie Pool, right in front of the Baloo and Mowgli statues. There were 3 work tables set up with a capacity of 6 guests per table, so they were able to accommodate up to 18 guests at once - which is good, because this was a very popular activity and a lot of guests were excited to join in!


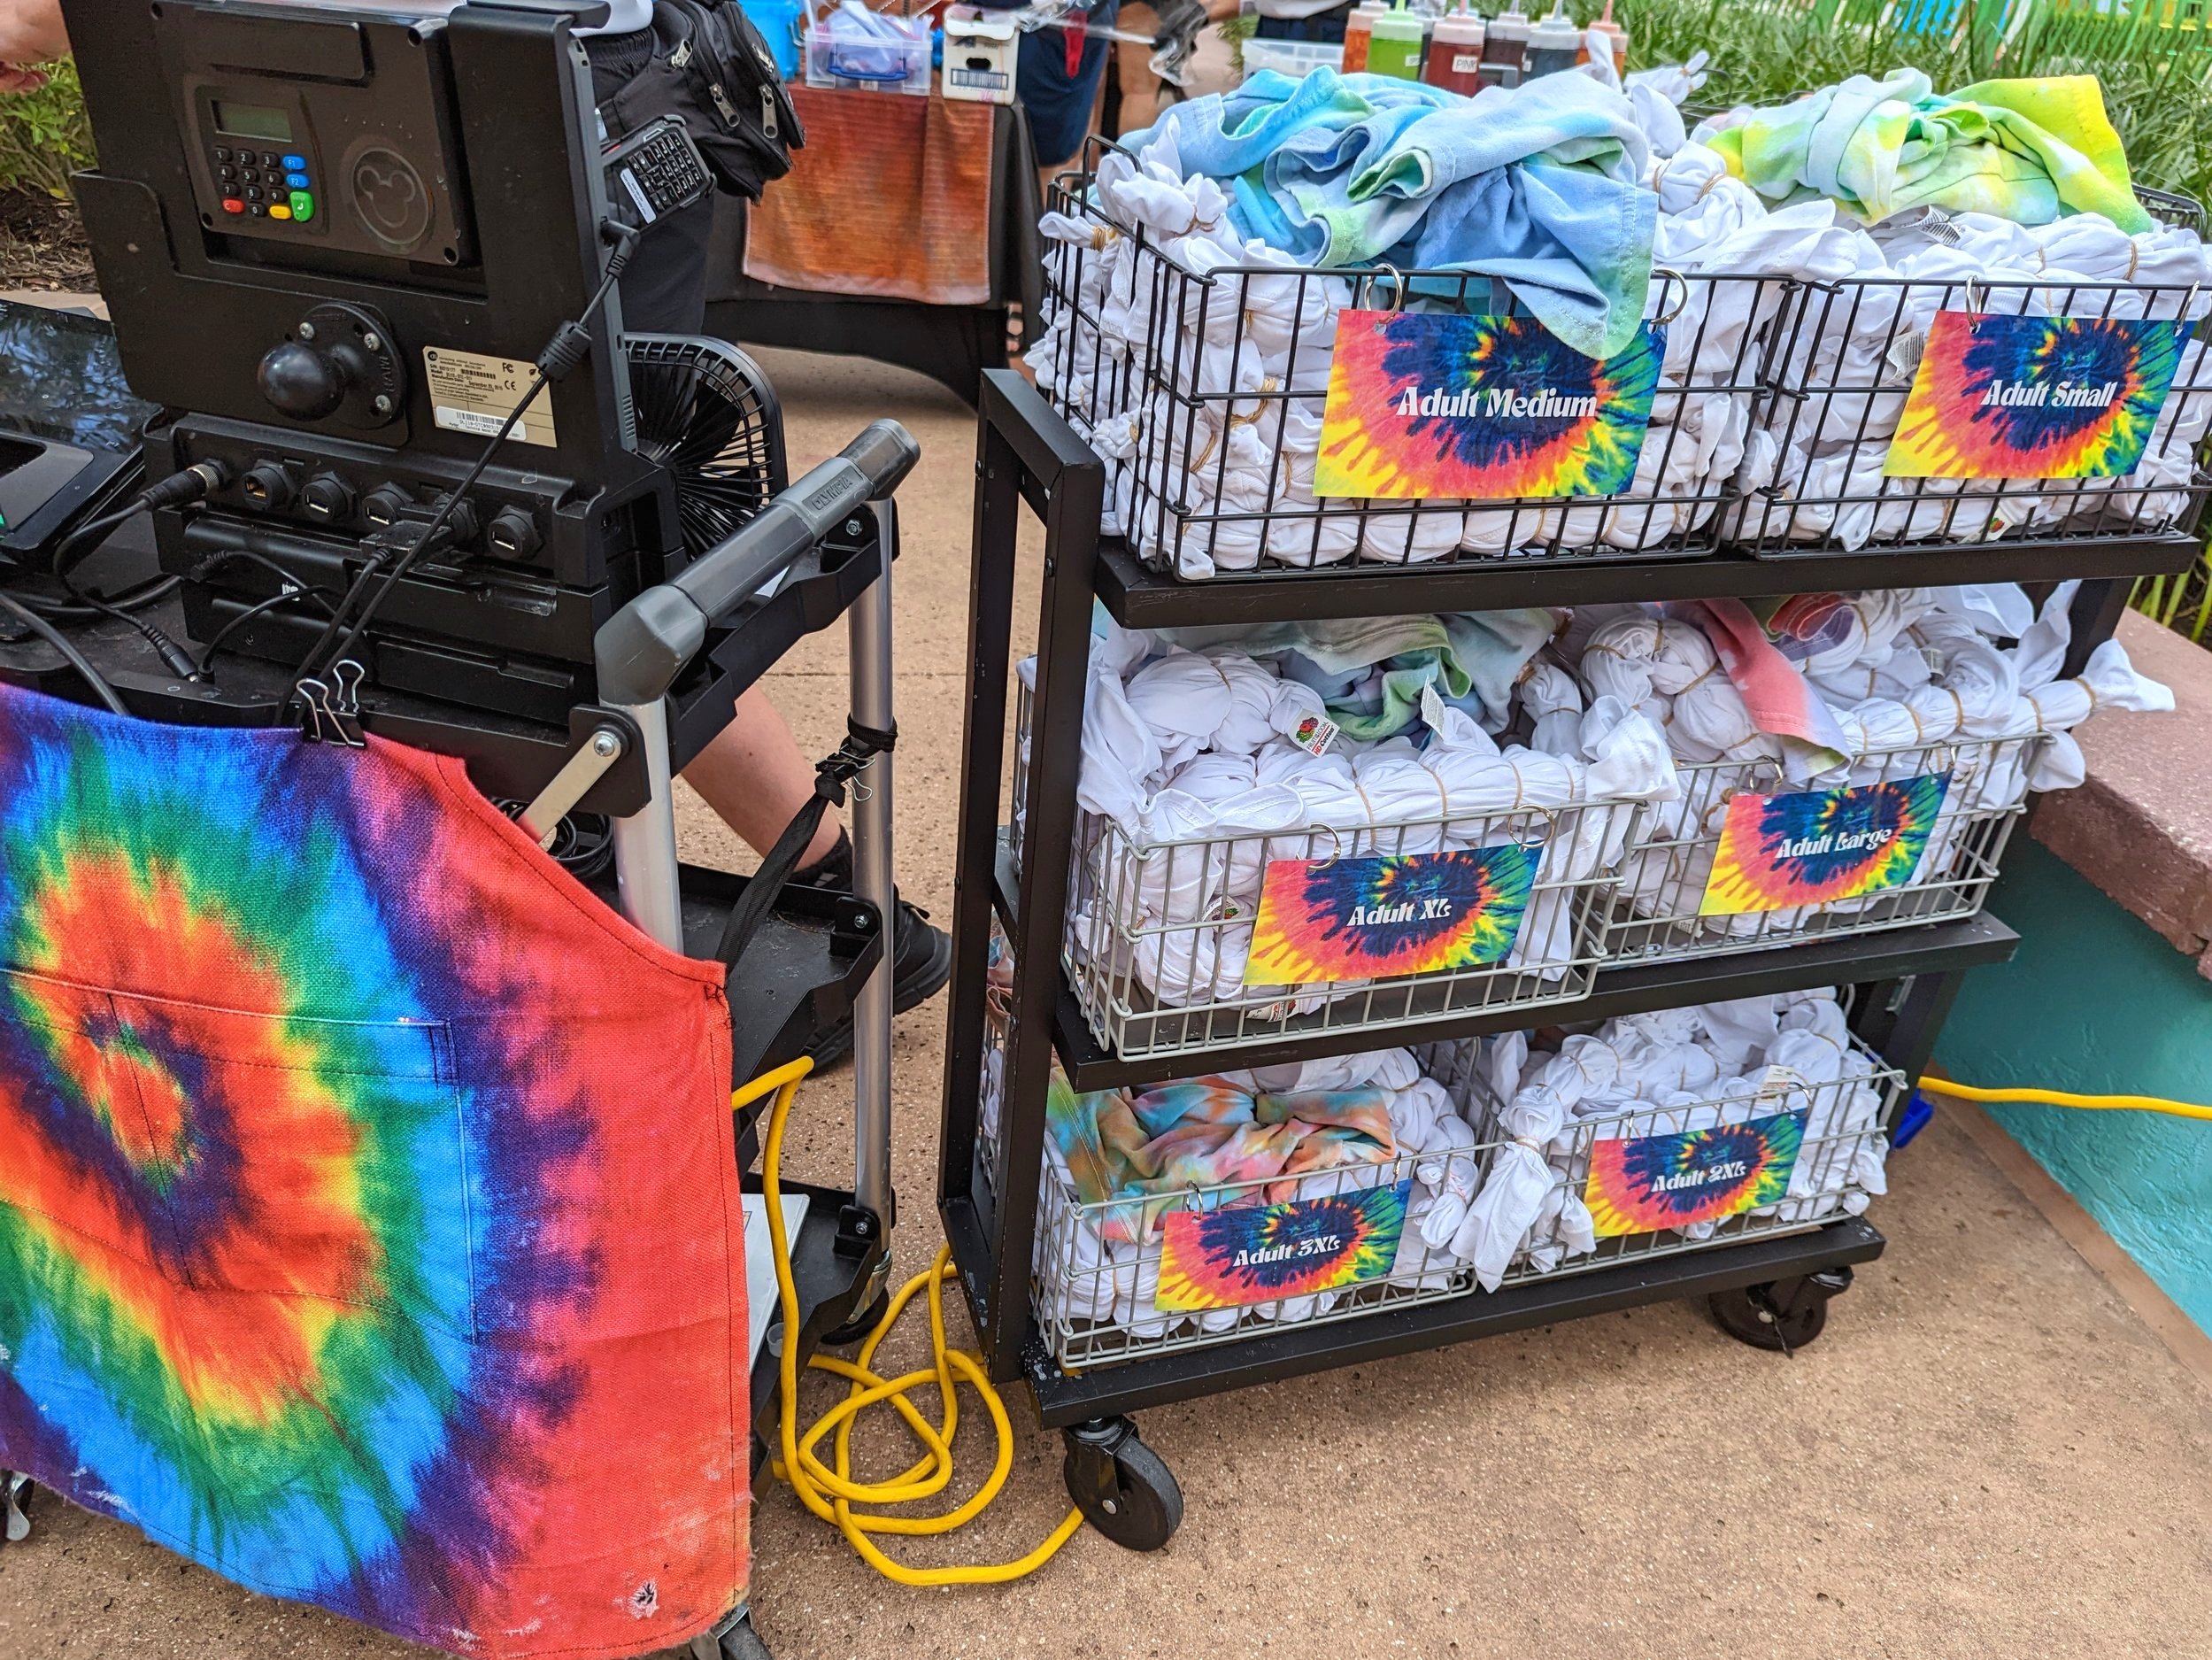
First, you’ll get in line to pay and select the item you’re going to dye. At Pop Century, they had t-shirts and pillowcases available. The t-shirts were $17.00 each and sizes ranged from youth (small, medium, and large) to adult (every size from small up to 3XL). Pillowcases were available for $8.00 each. What’s available to dye varies by resort - they all always have classic t-shirts in stock, but you might find special items like long-sleeve shirts, onesies, masks, bandanas, and more at different resorts! All items are white, so the tie-dye will show up as brightly as possible. They have finished shirts there for you to look at so you can make sure you get a size that fits well. I feel like my shirt shrunk a little after this whole process, so I would suggest getting a shirt one size up from what you normally wear. This was the slowest part of the whole experience, as there was a bit of a line and their register was not working very well. Once I paid for my shirt, I waited just a couple of minutes until a space at a work table opened up.

Before heading to the work table, a Cast Member took my shirt and dunked it in a tub of water. The shirts are already rubber-banded to make sure you get a great Mickey pattern, so guests don’t need to worry about getting the rubber bands in the right place before getting started. Once the shirt had soaked for about 30 seconds, we walked over to an empty space at a work table. There was a simple baking rack set up on top of towels waiting for me, which was a clever set-up that allowed all the excess dye to drip into the towel while I worked. The rack kept my shirt lifted safely off the dye-soaked towel and helped keep my color pattern as intended.


The Cast Member gave me disposable gloves and offered me a plastic apron. She explained that the three little nubs rubber-banded at the top of the shirt were what would create the “Mickey”, so she suggested that I make that a very bright, different color than the color I do in the next section so the Mickey really stands out well. Then, each section can be whatever colors I want. She recommended one color per section, and to really drench each section. They ask you to not squeeze the bottles at all and to just tip the bottles and let the dye gently pour out. If you don’t want any white to remain, then use your fingers to lift the fabric folds of each section and check to make sure it’s dyed all the way through. Once you’re finished dyeing, then you’ll give each section a strong “Hulk smash” while still on the rack to squish out any extra dye, so the colors don’t drip into other sections when you move it to the next station.


Next, a Cast Member will take your completed shirt over to their wrapping station. They’ll wrap it really, really well in lots of plastic wrap, and then zip it up in a gallon zip-top baggie, so the dye is completely contained and there’s no worry at all about safely packing this or getting it home. They also tuck a little note with instructions inside the bag so you’re ready when it’s time to rinse out your shirt.
This is a pretty messy (but fun!) process, and accidental dye spills may not wash out of your clothes, so that’s something to keep in mind before you do this activity. I leaned on the table at one point without realizing it and got dye on my shorts, and after I left I noticed I had dyed my arm a little too. And at one point, a little boy who was dyeing a shirt at a nearby table squeezed a bottle of dye and accidentally squirted red dye all over the leg of the lady standing next to him…so even if you’re careful, be aware that you could walk away from this activity having dyed more than just the shirt.


When you bring it home and are ready to rinse your shirt, it’s very easy! The longer the shirt stays wrapped in the bag, the brighter the colors will be. If you’re looking for more pastel colors, then you only need to leave it in the bag for 2 or 3 days. But for the most vivid colors, the Cast Member recommended leaving it in the bag for up to 10 days. At that point, the colors will be as bright as they’re going to get.
For rinsing, the Cast Member told me it’s best to leave the rubber bands in place for the first rinse and rinse until the water runs clear. Then cut off the rubber bands and rinse until the water runs clear one more time - so I did that extra step, even though the printed instructions didn’t say to. I loved doing this activity, and I loved how my shirt turned out! This is a great idea for a souvenir since you get to participate in a fun activity and you get a custom t-shirt to take home, plus it’s half the price of buying a t-shirt in a Disney gift shop. The whole process only took 15-20 minutes, and it’s great for the whole family. And it’s a fun way to keep the Disney magic going once your trip is over - when you’re home and you start to feel the Disney blues, you can rinse out your shirt and see the Mickey masterpiece you created!


Mickey Tie-Dye is available at most resorts, so please take a look at each resort’s current Activity Calendar to find out when and where Mickey Tie-Dye is scheduled to take place.
Mickey Tie-Dye at Pop Century | Sunday, Tuesday, Thursday, Saturday from 2:30-3:30 PM | Hippy Dippy Pool
*Activity dates and times listed here were accurate at the time this review was published. Resort activities and activity schedules may change month-to-month, so be sure to check the current Pop Century Recreation Calendar for updated times/dates when making plans to participate.